Computer Build

Computer Hardware
Project Overview
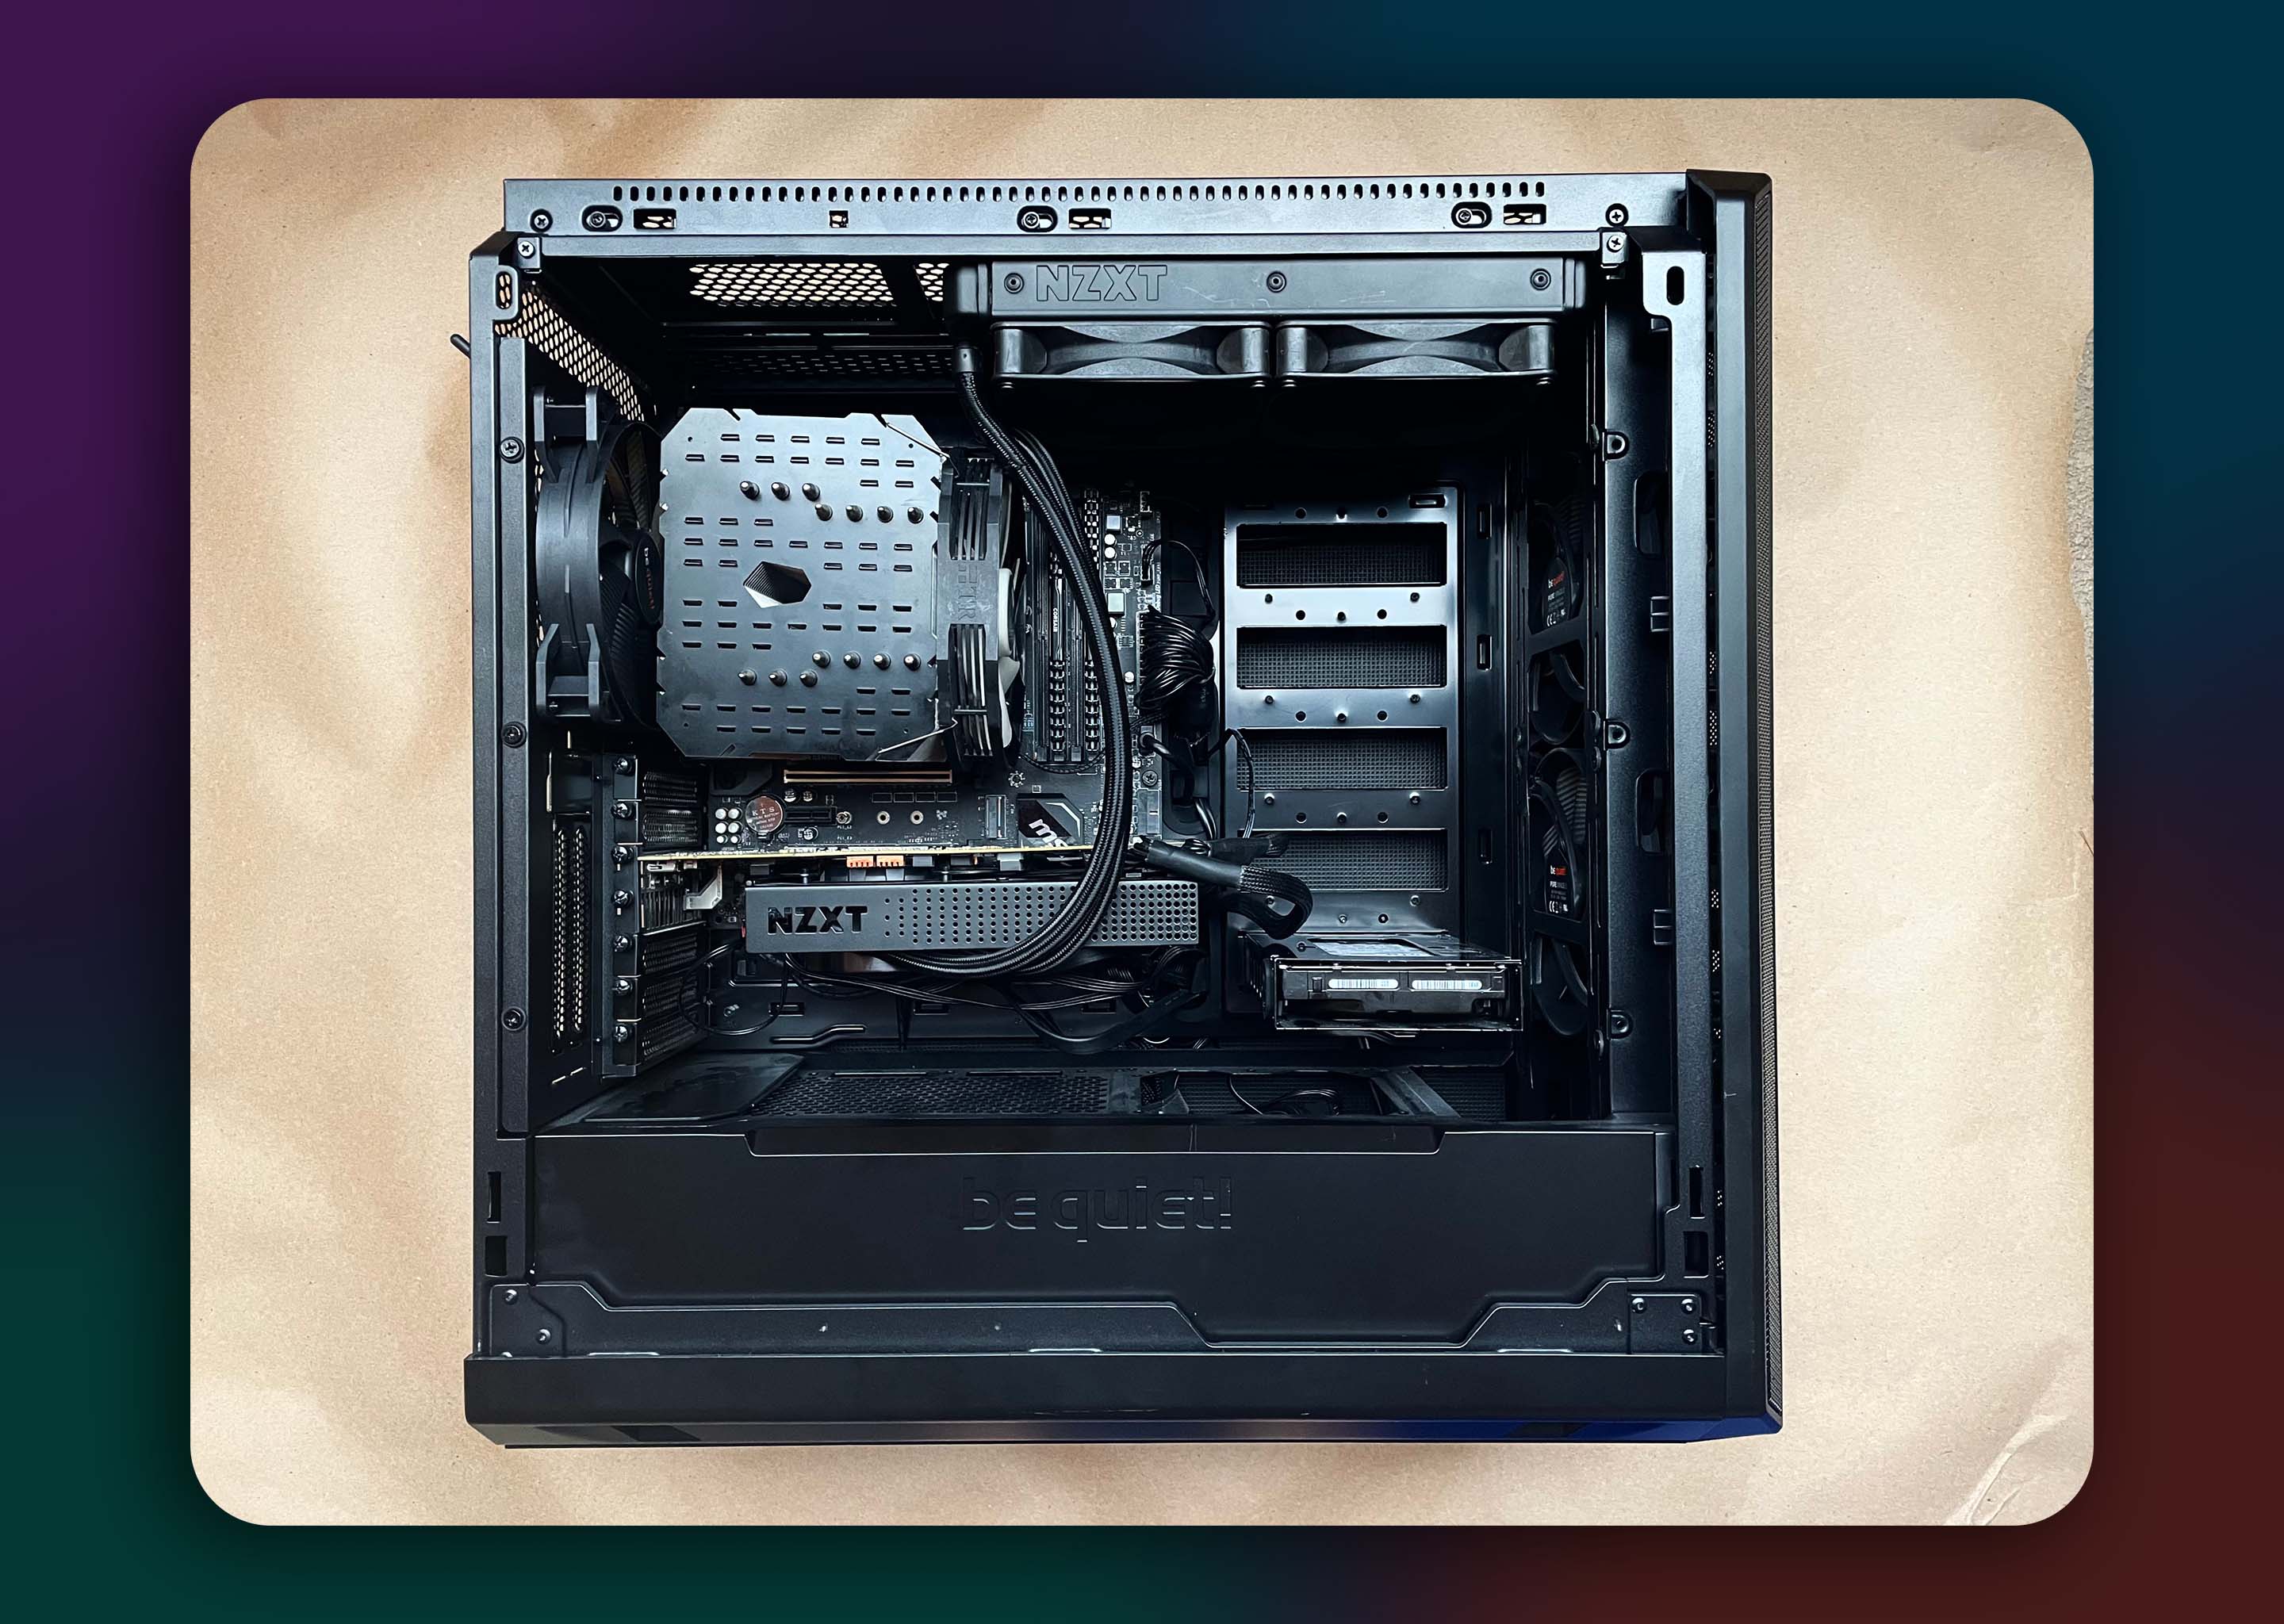
I built this computer to be utilized for personal and professional workloads such as graphical rendering, photo editing, text editing, web browsing and word processing applications. Keeping those requirements in consideration, I compared the limited lifespan of these components compared with future ones and built this computer to minimize cost and maximize useful life expectancy for the tasks I indend to use it for.
Parts Compatability
Before I assemble the computer, I need to ensure complete inter-compatibility between all computer components. The tool that I used to check this is a website called PCPartPicker. The website will provide guidance and inform me if there are any issues between the parts. In fact, the image below displays a compatibility issue with my PC build. Luckily, this can be solved with a motherboard BIOS update at my local computer retailer, Microcenter.
A screenshot of a computer components list created on PCpartpicker.com .PCPartPicker
For my motherboard, I picked the MSI Z370 Gaming Pro AC Micro-ATX. This motherboard has high quality voltage regulation for overclocking, and was a focus point of this PC. It also has built Wi-Fi and Bluetooth connectivity, which was a necessary requirement for my needs.

For my Power Supply Unit (PSU) I chose the EVGA SuperNOVA GA 850 Watt. I made this decision due to the PSU's fully modular design, which allows for greater flexibility with cable management. And with enough power overhead to support overclocking of my GPU & CPU.
Motherboard & PSU
A computer with an open side panel. The motherboard, power supply, and case fans have been installed.
For data storage, I chose two devices: the 4.0 TB WD Black HDD and the Samsung 970 PRO NVMe M.2. This provides an affordable mix of high capacity low performance storage & low capacity high performance storage for my needs.

For RAM, I decided on the Corsair Vengeance LPX 32 GB. Since I am using a QHD 1440p display, some of my processing tasks require a significant amount of memory.
Data Storage & RAM
A 4 TB WD Black HDD, 32 GB of Vengeance LPX RAM, 1TB 970 PRO M.2 Drive.A computer with an open side panel. The SSD, HDD, and RAM have been installed.
For the Graphics Processing Unit (GPU) I selected the ASUS's G Force 2080ti OC for its well known high performance in graphical workloads. I also modified a liquid cooling solution to the GPU to increase overclocking headroom.

For the Central Processing Unit (CPU) I chose an Intel i7 9700k due to the product's high single core performance.
Processing Units
A CPU, CPU Air Cooler, and GPU with modified liquid cooling.A computer with an open side panel. The GPU and CPU have been installed.
With the PC assembled, the last step is to validate system stability and ensure that all components are running properly. For this test, I used 3DMark's Time Spy Extreme, as it closely reflects the workloads this PC will handle. Once the tests were successfully complete, I noted that both the CPU & GPU stayed under my target operating temperature of < 80 °C.
System Stability Test
Graphs showing detailed thermal monitoring data